
I was sitting on my workshop stool last Tuesday, surrounded by the guts of a 1950s pendulum clock, when I realized I hadn’t actually looked at the “brains” of my own heating system in years. Most people think learning how to set up a smart thermostat is about mastering a fancy smartphone app or clicking through a series of sleek, digital menus. That’s a lie. The truth is, if you don’t understand the physical dance of low-voltage wires behind your drywall, you aren’t installing a smart device—you’re just inviting a very expensive headache into your living room. I had to unscrew my old unit and trace the copper lines myself just to feel certain I wasn’t about to blow a fuse in my furnace.
In this guide, I’m going to strip away the marketing fluff and show you exactly what is happening inside that little plastic box. We aren’t just going to follow a manual; we are going to identify your C-wire, understand the logic of the circuit, and ensure your home stays comfortable without a hitch. I’ll walk you through the actual mechanics of the installation so that when the screen finally lights up, you know exactly why it works, not just that it does.
Guide Overview
Tools & Supplies
- Screwdriver (Phillips or flathead for terminal screws)
- Smartphone (for app setup and configuration)
- Drill (optional, for mounting anchors)
- Smart thermostat unit (1 unit)
- Wall mounting plate (1 included with unit)
- Wire labels (1 pack for marking existing wires)
Step-by-Step Instructions
- 1. Before you even think about unscrewing anything, you must find your breaker box. I don’t care how “smart” this new device is; it is still a slave to the electrical grid, and I won’t have you working on a live circuit. Switch off the power to your HVAC system and verify it is dead by trying to turn your old thermostat up until the air kicks on. If nothing happens, you’re safe to proceed.
- 2. Pop the faceplate off your old thermostat. You’ll see a mess of colored wires tucked into the wall, and frankly, it’s a bit of a mechanical headache if you aren’t prepared. Before you touch a single screwdriver, take a clear photo of exactly where each wire is connected. The letters on the terminals—R, W, Y, G, and that elusive C—are the only language these wires speak, and you’ll need that map for later.
- 3. Now, we deal with the “C-wire,” or the common wire. This is the one that provides the constant stream of energy to keep the thermostat’s brain awake when nobody is looking. If your old setup didn’t have one, you might see a loose wire tucked back in the wall, or you might have to use a power extender kit. Without this steady flow of current, your fancy new device is nothing more than a very expensive, unlit clock.
- 4. Unscrew the old baseplate and pull the wires through the hole in the wall, being careful not to let them slip back into the drywall—I’ve lost more wires to the void of the wall than I care to admit. Line up your new smart baseplate, level it with a spirit level (don’t eyeball it, physics doesn’t care about your intuition), and screw it into the wall. You want a solid, flush connection so the sensors aren’t reading the temperature of the air leaking from inside your house.
- 5. This is the part that requires a steady hand. Take those wires you mapped out and thread them into the corresponding terminals on the new base. If the terminal is a screw-down type, tighten it until the wire is firmly seated but don’t crank it so hard that you strip the thread or snap the copper. Give each wire a very gentle tug; if it wiggles, it’s not making the connection, and a loose connection is just future frustration waiting to happen.
- 6. Snap the new faceplate onto the base. You should feel a satisfying click—that’s the mechanical confirmation that the pins are meeting the board. Head back to your breaker box, flip the power back on, and watch the screen. If it lights up, you’ve successfully bridged the gap between the grid and your living room. Now, you’ll just follow the on-screen prompts to connect it to your Wi-Fi, but the real heavy lifting is already done.
Decoding the C Wire Connection Guide for Constant Life
I remember opening up my old furnace control board last Tuesday, and it struck me how much we rely on a single, steady stream of electricity to keep our “smart” gadgets from becoming brain-dead. Most people see a handful of colored wires and panic, but if you look at a smart thermostat wiring diagram, you’ll realize it’s just a conversation between your walls and your air handler. The C-wire, or common wire, is the unsung hero here; it provides the continuous loop of power that keeps your screen lit and your Wi-Fi connected. Without it, your device is just a fancy battery-operated timer that’s going to die right when you need it most.
If you find yourself staring at a gap where that C-wire should be, don’t assume your system is obsolete. Sometimes, it’s tucked just behind the drywall, or you might need a power extender kit to bridge the gap. I always tell my students that electricity requires a complete circuit to do work, and the same applies to your comfort. Before you start poking around, verify your HVAC system compatibility by checking if there’s a spare wire in the bundle. If there isn’t, you aren’t stuck; you just have to get a little more creative with how you complete that loop.
Mastering Hvac System Compatibility Before the First Breath
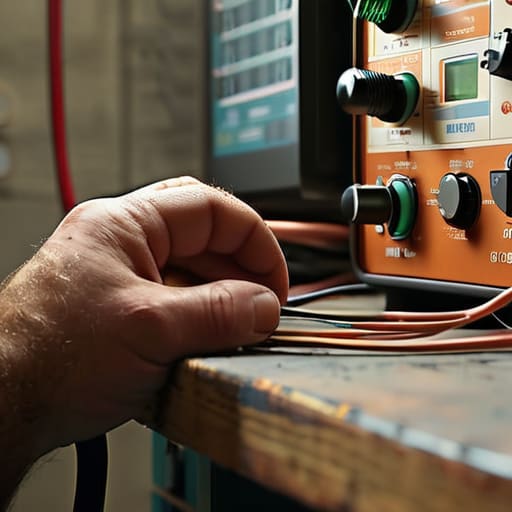
Before you even think about unscrewing that old plastic box from your wall, you need to understand the conversation your furnace is having with your air conditioner. I spent last Tuesday with my multimeter tracing the lines on an old Rheem unit, and it reminded me that not every system plays well with others. You aren’t just swapping a dial for a screen; you are introducing a digital brain into a mechanical body. You must verify your HVAC system compatibility by checking if your current setup relies on a simple millivolt system or a standard 24V transformer. If you try to force a high-draw smart device onto a low-voltage system without a proper adapter, you won’t get a smart home—you’ll get a very expensive way to trip a circuit breaker.
I always tell my students that a map is useless if you don’t know the terrain. Pull that old thermostat cover off and look at the actual terminals. Don’t trust the colorful plastic; trust the letters stamped in the metal. If you see labels like R, W, Y, and G, you’re likely in good shape, but if you see something obscure, stop right there. You need to cross-reference your specific model with a smart thermostat wiring diagram before you commit. Knowing exactly what each wire is tasked with doing—whether it’s triggering the compressor or just the fan—is the only way to ensure your new device actually learns your habits instead of fighting them.
Five Things I Learned While My Hands Were Deep in the Wall
- Don’t trust the old labels. When I pulled my old thermostat off the drywall, the little colored stickers on the wires were lying through their teeth. One was labeled ‘R’ but was actually acting like a ‘G’. Always use your multimeter to verify which wire is actually carrying the voltage before you start slotting things into the new baseplate.
- Mind the “Ghost in the Machine”—the air gap. When I was mounting the new unit, I realized that if the hole in the wall where the wires come through isn’t plugged, a draft of cold air from inside the wall hits the sensor. It tricks the thermostat into thinking the room is freezing, making it run the heat constantly. Stuff a little bit of insulation or even some putty in that hole to keep the sensor honest.
- The Wi-Fi isn’t just for the app; it’s for the logic. I used to think a thermostat just clicked a relay to move a motor, but these things are tiny computers. If your router is tucked behind a heavy metal filing cabinet or a thick brick wall, the thermostat might struggle to talk to the cloud. If the connection is spotty, the “smart” features become nothing more than a very expensive, very dumb dial.
- Test the cycle before you put the cover on. It is tempting to snap the faceplate on and walk away, but I always run a manual call for both heat and cooling first. I want to hear that click of the relay and feel the air moving at the vent. If you wait until you’ve finished the “pretty” part of the installation to find out the compressor isn’t kicking in, you’re going to be much more frustrated.
- Treat your settings like a physics experiment. Don’t just set it and forget it. For the first week, I watched the temperature swings like a hawk. You have to find the “deadband”—that little range where the system doesn’t hunt up and down too aggressively. If the temperature oscillates too wildly, you’re just putting unnecessary wear on your HVAC’s mechanical components.
The Anatomy of a Comfortable Home
Don’t let the sleek glass screen fool you; the real heart of the system is that C-wire, providing the constant electrical current that keeps the logic board from starving when the furnace kicks on.
Compatibility isn’t just about fitting the wires into the holes; it’s about ensuring your old furnace’s mechanical relays can actually speak the same digital language as your new smart brain.
A thermostat is more than a dial; it is a feedback loop that relies on steady power and precise communication to ensure your house doesn’t turn into an oven or an icebox while you’re sleeping.
The Pulse of the House
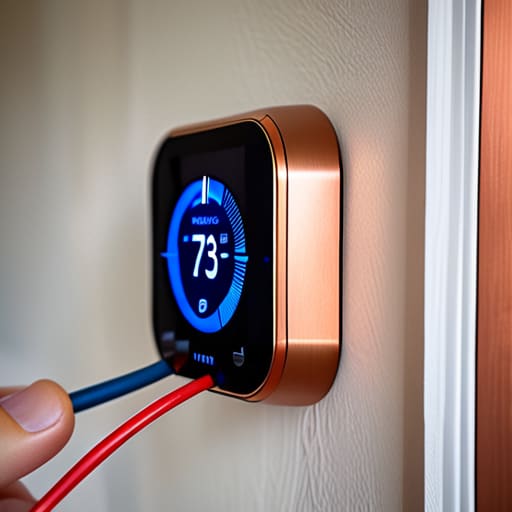
Now that you’ve peered behind the plastic casing and wrestled with those copper veins, your thermostat is no longer just a box on the wall; it is a functioning component of a larger thermodynamic system. We’ve ensured that your power source is stable with that C-wire, confirmed that your furnace and air conditioner are actually speaking the same language, and verified that the wiring matches the logic of the machine. It isn’t just about following a manual; it’s about ensuring the electrical continuity is sound so that your heating and cooling cycles don’t stutter when you aren’t home to watch them. Once those connections are tight and the software is synced, the hardware finally begins to work in harmony with the air in your rooms.
There is a certain quiet satisfaction in knowing exactly how your home maintains its equilibrium. Most people simply walk past their thermostat, treating it like a magic black box that occasionally hums, but you now understand the mechanical choreography happening behind the scenes. You’ve moved past merely using a gadget to actually mastering a tool. As you settle in and feel the temperature shift precisely when it should, take a moment to appreciate that invisible dance of electrons and airflow. You aren’t just living in a house anymore; you are managing a finely tuned environment that you finally truly understand.
Frequently Asked Questions
If I don't have a C-wire and I can't run a new one through my walls, is there a way to make this thing work without it constantly losing its connection?
I’ve seen this many times—a perfectly good thermostat sitting on the workbench because the wall won’t cooperate. If you can’t fish a new wire through the studs, look for a “Power Extender Kit” or a “C-wire Adapter.” It’s a little plastic box that sits inside your furnace, essentially multiplexing the signals so the existing wires can carry both data and constant power. It’s a clever workaround for a stubborn house.
I've looked at my old thermostat and it's just a simple dial; how do I know if my actual furnace and air conditioner are modern enough to talk to a computer chip?
Don’t let that old dial fool you; it’s just a mechanical switch, a simple physical gap that opens and closes. To see if your furnace can “talk,” we need to look at the control board inside the unit itself. I opened mine up last Tuesday. If you see a row of screw terminals labeled R, W, Y, and G, you’re in luck. That’s the digital handshake your smart thermostat is looking for.
Once I've got the wires tucked into the new baseplate, how do I know if I've actually tightened them enough to prevent a short, or if I'm just hoping for the best?
Don’t just rely on a “looks right” glance; that’s how you end up with a fried control board. Once the screw is down, give each wire a firm, gentle tug. If it slides out or wiggles, it’s a loose connection waiting to arc. You’re looking for that tension where the copper feels married to the terminal. If it stays stubborn, you’ve actually secured the circuit. Otherwise, you’re just praying to the gods of electricity.