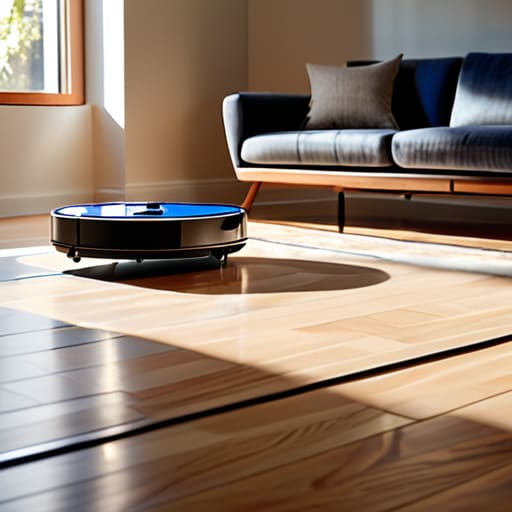

I spent forty minutes yesterday watching my new little circular friend try to fight a battle against a single, rogue braided charging cable, only to end up wedged helplessly under the sideboard like a trapped beetle. Most people think the struggle is with the software, but after I unscrewed the casing to peek at the infrared sensors and the drive wheels, I realized the real battle is actually with your floor plan. Learning how to set up a robot vacuum isn’t about clicking “connect” on a shiny smartphone app; it’s about understanding the physical geometry of your home so the machine doesn’t spend its entire life screaming for help in a corner.
I’m not going to give you a sanitized manual of “optimal conditions” that ignores the reality of living in a house with actual furniture. Instead, I’m going to show you how to prepare your environment so the machine can actually do its job while you aren’t watching. We will go through the necessary steps of clearing the “danger zones,” positioning the dock so it doesn’t lose its way in the dark, and mapping the obstacles that usually lead to mechanical tantrums.
Guide Overview
Tools & Supplies
- Smartphone (to download the manufacturer's app)
- Wi-Fi Router (to provide internet connectivity)
- Robot Vacuum Kit (1 unit containing vacuum, dock, and accessories)
- Charging Station (1 unit included in box)
Step-by-Step Instructions
- 1. Before you even plug the thing in, you need to perform a pre-flight sweep of your living room. I spent twenty minutes yesterday untangling a stray charging cable from the side brush, and let me tell you, it’s a frustrating way to start. Clear away the loose socks, the discarded mail, and those tiny Lego pieces that seem to migrate toward the floor like living organisms. If the vacuum can’t see the floor because it’s too busy fighting a rogue shoelace, it isn’t cleaning; it’s just wandering aimlessly.
- 2. Now, let’s talk about the “home base,” or the charging dock. You can’t just shove it into a dark corner behind the armchair and expect it to find its way back. It needs a clear line of sight to the infrared signals it uses to navigate. Place it against a flat wall with at least a few feet of open space on either side. Think of it like a docking station for a ship; if the harbor is blocked by a pile of magazines, the ship is going to crash into the pier every single night.
- 3. Once the dock is steady, it’s time to introduce the vacuum to your Wi-Fi. I know, I know—it feels like overkill for a machine that just sucks up dust—but without that connection, the device is essentially blind and deaf to your commands. Open the app on your phone, and when it asks for your credentials, make sure you’re on a 2.4GHz band if your router is picky. I’ve found that many of these little motors struggle with the high-frequency 5GHz bands, which leads to a lot of unexplained connection drops.
- 4. After the digital handshake is complete, you must map the territory. Most modern units use LiDAR—which is just a fancy way of saying it uses a spinning laser to measure distances—to build a mental image of your house. Start the mapping run and then stay out of its way. It needs to bump into the baseboards and circle the table legs to understand the geometry of your life. If you keep following it around like a lost puppy, you’ll interrupt its sensor readings and end up with a map that looks like a bowl of spilled spaghetti.
- 5. Now that it has a sense of where it is, you can start setting “No-Go Zones.” This is my favorite part because it’s where you set the boundaries. If you have a particularly messy area under the heavy oak sideboard or a corner where the dog’s water bowl sits, use the app to draw a digital fence. It’s much more efficient to tell the machine where not to go than to constantly rescue it from a soggy mess or a mechanical jam.
- 6. Finally, do a quick physical check of the “business end” of the machine. I always like to pop the bin out and ensure the brushes aren’t pre-clogged with factory packaging or plastic wrap. Check that the side brushes spin freely and that the main roller is seated firmly in its housing. If the mechanical tolerances are off right from the start because of a bit of packing foam, you’ll spend your whole first week troubleshooting a motor that’s working twice as hard as it needs to.
Mastering the Robot Vacuum App Connection
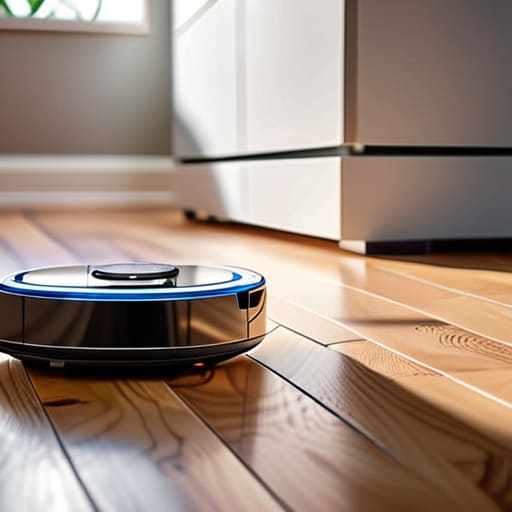
Once I finally got the casing off my old desk lamp last week, I realized how much we rely on invisible handshakes between devices. The same applies here; the robot vacuum app connection is essentially just a digital conversation between your phone and the vacuum’s Wi-Fi chip. If the connection feels finicky, don’t assume the hardware is faulty. Usually, it’s just a matter of signal strength. I’ve found that if you place your router too far from the vacuum’s resting spot, the handshake fails before it even begins. It’s much like trying to listen to a student whisper from the back of a noisy classroom—sometimes you just need to move closer to hear the logic.
Once you are synced, the real fun begins with the software’s logic. I spent an afternoon tinkering with the no-go zones configuration to ensure my little mechanical friend doesn’t decide to take a bath in the dog’s water bowl. Think of these digital boundaries as the invisible walls that guide its mechanical intent. If you set these up correctly, the machine stops being a wandering nuisance and starts acting like a predictable tool.
The Art of Strategic Docking Station Placement
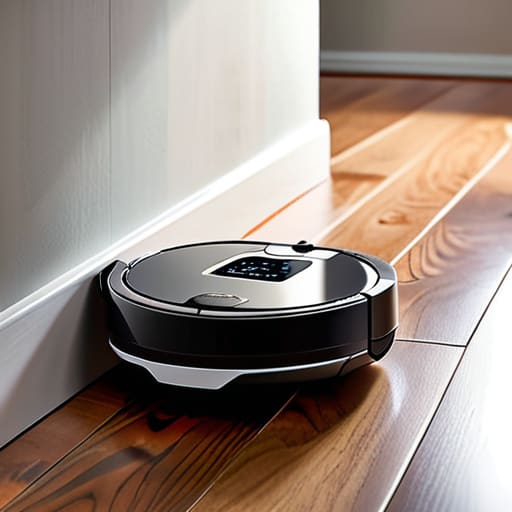
Now, if you think the docking station is just a glorified plug, you’ve already lost the battle. I spent a weekend with my screwdriver and a multimeter looking at how these little machines navigate, and it all comes down to how they “see” their way home. You can’t just tuck the base into a cramped corner behind a heavy armchair. If the infrared signal can’t bounce off the wall and reach the robot’s eyes, it’ll spend its entire battery life wandering the hallways like a lost student in a physics lab. For successful docking station placement, you need to give it a clear “runway”—at least three feet of open space in front of the unit.
Think of the dock as the robot’s north star. If you place it near a cluttered doorway or a heavy curtain that moves with the breeze, the machine will get confused and fail to find its way back. I’ve found that the best spot is a flat, hard surface against a clear wall, far away from any erratic shadows or moving objects. Once it’s settled, you can use your no-go zones configuration in the app to make sure it doesn’t try to “clean” its way into a collision with the base itself.
The Small Things That Keep the Gears Turning
- Clear the “trip hazards” before you even press start; I spent an hour last Tuesday trying to figure out why my vacuum was making a rhythmic clicking sound, only to find it had swallowed a stray earring and was struggling to rotate the side brush.
- Don’t just set the boundaries in the app; physically walk the path to see where the transition from hardwood to rug might cause the drive wheels to slip, as a slip in the software often starts with a slip on the floor.
- Check the brush roll tension after the first few runs, because if the hair wrap isn’t cleared immediately, the motor has to work twice as hard to overcome the friction, and I’d rather not see the internal thermal fuse blow.
- Treat the sensors like they are part of a delicate optical instrument; if you leave a film of dust on the infrared cliff sensors, the machine will think it’s standing on the edge of a canyon every time it approaches the rug.
- Listen to the motor’s pitch during the first cleaning cycle; a healthy vacuum has a consistent hum, but if you hear a high-pitched whine, it usually means something is caught in the intake housing, and it’s better to catch it now than after the motor burns out.
The Physics of a Clean Floor
A robot vacuum is only as smart as the environment you provide; if you leave a tangle of charging cables or a stray lace on the rug, you aren’t setting up a cleaner, you’re setting up a mechanical knot.
Don’t treat the docking station like an afterthought—it needs a clear “runway” so the machine can find its way home using its sensors, rather than bumping blindly against a wall like a lost moth.
The app is just a remote control for the internal logic, so use it to set boundaries early, preventing the vacuum from wasting its battery trying to climb stairs it was never meant to conquer.
The Quiet Rhythm of a Clean Floor
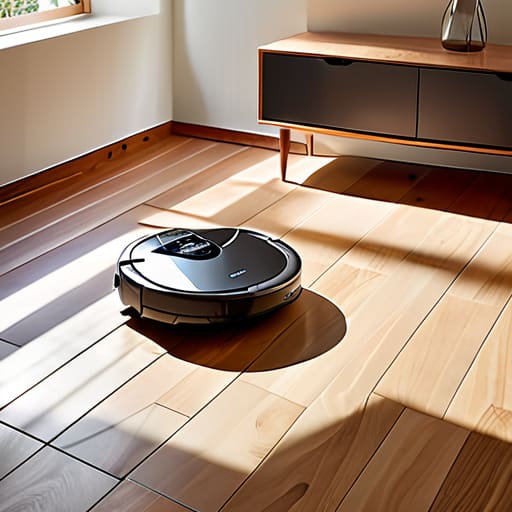
Once you have cleared the floor of those treacherous stray socks and found a home for the dock that isn’t tucked behind a heavy velvet curtain, you’ve done the hard part. Setting up a robot vacuum isn’t just about following a manual; it’s about mapping the physical reality of your living space so the machine doesn’t spend its life fighting your furniture. Between syncing the app to ensure the software knows where the walls are and strategically placing the charging base, you have essentially prepared a predictable environment for a very complex set of sensors and motors to operate within.
I often sit with my tea and watch the little thing navigate the shadows under the sideboard, thinking about the tiny brushes and vacuum motors working in concert. There is a certain peace in knowing that once the initial friction of setup is over, the machine will simply do its job while you are busy living your life. We spend so much time managing our tools, but when we take the time to truly understand their boundaries and their needs, they stop being temperamental gadgets and start becoming reliable companions in our daily rhythms.
Frequently Asked Questions
Should I let it run its first cleaning cycle while I'm watching, or can I just leave it to its own devices?
Don’t you dare leave it alone just yet. I spent an hour with my screwdriver last week, and even after seeing the drive gears and the brush motor, I still find the way these things navigate a bit temperamental. Stay with it for the first run. You need to see if it treats your rug fringes like a snack or if it gets bullied by the transition strip to the kitchen. Watch its eyes—or sensors—work.
How do I know if the sensors are actually working, or if it's just bumping into things by accident?
To be honest, I had to unscrew the bumper casing on mine just to see the infrared emitters myself. If you want to test them without a screwdriver, watch it approach a dark chair leg. A working sensor should trigger a deceleration—a gentle “soft touch”—rather than a violent, clattering impact. If it hits like a runaway billiard ball, those little eyes are either blinded by dust or simply failing to see the obstacle.
What happens if it gets stuck under a piece of furniture I thought was high enough?
It’s a classic mechanical standoff. When the sensors miscalculate a clearance gap, the vacuum tries to force its way through, usually resulting in the drive wheels spinning uselessly against the underside of the wood. If you get that frantic “stuck” notification, don’t panic. Just lift it out manually. To prevent a repeat, I’ve started measuring my sideboard clearance with a ruler—and the vacuum itself—to ensure there’s a true buffer.