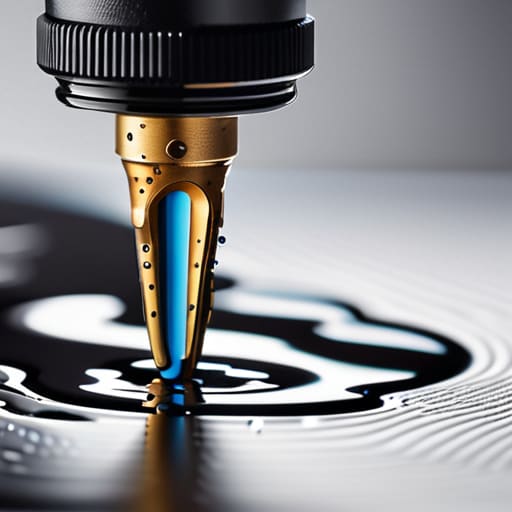

I was sitting at my workbench last Tuesday, squinting through my loupe at a particularly stubborn inkjet printer, when I realized most people approach a messy page all wrong. They think a blurry line is a software glitch or a “driver error,” but they are chasing ghosts. When I finally unscrewed the casing and pulled the carriage assembly out, I saw the truth: it wasn’t a digital hiccup, it was a physical buildup of dried pigment acting like tiny, microscopic dams across the nozzles. If you want to learn how to fix poor print quality, you have to stop clicking buttons on a screen and start looking at what is actually happening inside the machine’s guts.
I’m not going to give you a list of vague troubleshooting steps that involve restarting your router three times. Instead, I’m going to show you the mechanical reality of why your ink isn’t landing where it should. We are going to talk about the physical friction of the printhead, how to clear the sludge without snapping a delicate sensor, and how to identify if your hardware is actually dying or just needs a proper cleaning. By the time we’re done, you won’t just have a working printer; you’ll actually understand the mechanisms of the mess.
Guide Overview
Tools & Supplies
- Isopropyl alcohol (for cleaning nozzles and beds)
- Microfiber cloth (for wiping surfaces without lint)
- Precision tweezers (for removing debris or stringing)
- Screwdriver set (for adjusting tension or leveling)
- Cleaning solution/IPA (1 bottle)
- Replacement nozzle (1-2 units)
- Lubricant/Grease (1 small tube)
Step-by-Step Instructions
- 1. First, you have to stop looking at the software screen and actually look at the paper. I’ve spent too many years watching students stare at a blank chalkboard waiting for the math to appear; the answer is usually right in front of you. If your lines are streaky, it’s a physical blockage; if the colors are shifting, it’s a chemical imbalance in the ink delivery. Before you click a single button, identify the pattern of the failure, because treating a clog like a software glitch is a waste of good ink.
- 2. Open the access door and let the carriage slide to its home position—don’t force it, or you’ll strip the plastic gears that move it. Once you can see the printhead, look for the dried crust around the nozzles. Ink is essentially a suspension of pigment in a solvent, and when that solvent evaporates, it leaves behind a tiny, stubborn dam. If you can see the dried residue, you’ve already found your culprit, and no amount of “software cleaning” will fix a physical obstruction.
- 3. If the printer’s built-in cleaning cycle doesn’t work, you’ll need to perform a manual purge. Grab some distilled water—never tap water, unless you want the minerals to act like sandpaper on your nozzles—and a lint-free cloth. Gently blot the printhead; you aren’t scrubbing, you are trying to draw the dried ink out of the microscopic pores through capillary action. If the cloth doesn’t come away with a bit of color, you haven’t applied enough controlled pressure to break the seal.
- 4. Now, we have to address the “ink starvation” problem. I once spent three days trying to fix a clock that wouldn’t tick, only to realize the mainspring was jammed with old, congealed oil. Your printer is the same. Check the ink lines or the cartridges to ensure there isn’t an air bubble trapped in the system. If you see a gap in the translucent tubing, the vacuum required to pull ink to the head is broken, and the printer is essentially trying to breathe through a straw with a hole in it.
- 5. Next, take a look at the encoder strip—that’s the thin, clear plastic ribbon that runs behind the printhead. It’s the printer’s “eyes,” telling the carriage exactly where it is in space. If a smudge of grease or a speck of dust lands on it, the carriage will stutter or drift, causing those horrific horizontal lines. Clean it with a dry cloth very, very carefully; if you pull too hard, you’ll snap it, and then you’re looking at a paperweight instead of a printer.
- 6. Finally, check the rollers. If your pages are coming out skewed or wrinkled, the friction isn’t being distributed evenly. I like to use a bit of isopropyl alcohol on a swab to wipe the rubber pickup rollers; you want them to be tacky, not slimy. If the rubber has become smooth and glazed from years of use, it loses its grip, and the paper will slip, causing the printhead to “miss” its mark and create a ghosting effect.
The Invisible Obstruction Clogged Inkjet Nozzles Cleaning

When I opened up my old Epson last summer, I realized that most people treat their printers like magic boxes, but they are actually just tiny, high-speed plumbing systems. If your colors are looking pale or streaky, the culprit is almost always a microscopic blockage. Think of it like a clogged artery; if the fluid can’t flow through those microscopic apertures, the physics of the spray simply fails. This is why clogged inkjet nozzles cleaning becomes a necessity rather than an option. I’ve found that if the software’s built-in cleaning cycle doesn’t do the trick, you might need to manually introduce a bit of warmth to the ink to break down those stubborn, dried crystals.
It is a common frustration when people compare inkjet vs laser print issues, assuming the liquid-based system is inherently “fussy.” It isn’t fussy; it’s just sensitive to evaporation. If you let a printer sit idle for three weeks, the ink in the nozzles begins to behave more like jelly than liquid. To prevent this, I make it a habit to print a single test page every Tuesday. It keeps the internal pressure consistent and ensures that the tiny valves don’t seize up from disuse.
The Ghostly Streaks Managing Printer Paper Jam and Streaks
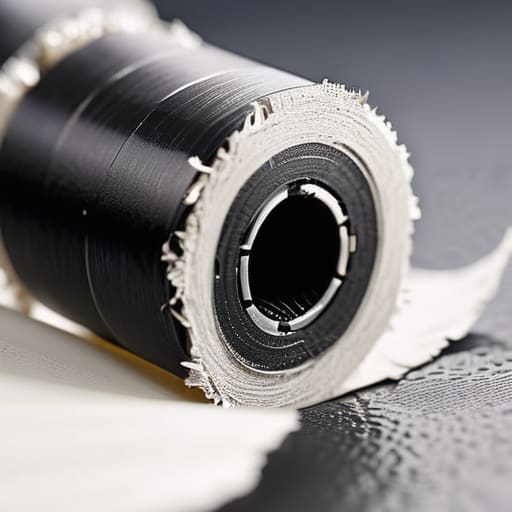
When I opened up my old inkjet last summer, I realized that a paper jam isn’t just a momentary hiccup; it’s a physical trauma for the machine. If you’ve ever felt that sickening snag while the rollers are spinning, you’re likely dealing with more than just a stuck sheet. A jam often leaves behind microscopic bits of paper fiber or, worse, a tiny flake of dried ink that gets caught in the feed path. These tiny debris particles are the primary culprits behind printer paper jam and streaks, acting like miniature sandpaper that drags across the page as it moves through the mechanism.
If your documents look like they’ve been dragged through a dusty workshop, don’t just assume it’s a software glitch. I always check the rollers first. If they feel slick or coated in a fine white powder, they aren’t gripping the paper properly, causing it to slip and create those horizontal lines. Sometimes, you have to perform some manual printer printhead maintenance by gently cleaning the rubber rollers with a lint-free cloth and a bit of distilled water. If the paper isn’t moving straight, the ink won’t land where it’s supposed to.
The Small Things That Break the Big Picture
- Check your ink levels before you start a job; if the cartridge is sitting on the edge of empty, it starts pulling air into the lines, and you’ll spend your afternoon chasing bubbles instead of printing.
- Look at your paper tray like a mechanic looks at a fuel line; if the sheets are curled or damp from the humidity in the room, they won’t feed straight, and that’s where your misalignment begins.
- Run a nozzle check pattern every time you notice a dip in quality; it’s the only way to see exactly which color is failing before you waste an entire expensive cartridge on a botched print run.
- Keep the rollers clean with a bit of isopropyl alcohol; if they’re coated in paper dust, they lose their grip, and a slipping roller is just as bad for your print quality as a clogged head.
- Don’t ignore the software settings; if you’re trying to print a high-resolution photo on “Draft” mode, you’re essentially asking a clock to run without a pendulum—it just won’t have the rhythm required for detail.
Lessons from the Workbench
If your prints look like they’ve been through a rainstorm, don’t blame the software; go straight to the nozzles, because dried ink is a physical wall, not a digital error.
A paper jam is rarely just about a stuck sheet; it’s usually about the rollers losing their grip or gathering debris, so clean the rubber if you want the paper to actually travel where it’s supposed to.
Never assume a printer is “broken” just because it’s acting up; most “ghosts” in the machine are just simple mechanical obstructions that you can solve once you stop looking at the screen and start looking at the parts.
The Final Inspection
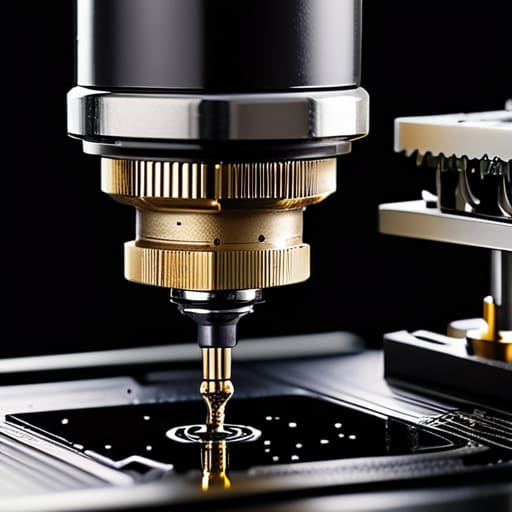
At the end of the day, fixing a printer isn’t about magic; it’s about identifying where the physical flow has been interrupted. Whether you were clearing a stubborn paper jam that left those unsightly streaks or performing a deep clean on the nozzles to clear out dried ink, you were essentially just restoring a pathway. We’ve looked at the nozzles, the paper path, and the printheads themselves. If you’ve done the work—if you’ve actually seen the grime you were removing—then you have moved past mere guesswork and into the realm of true mechanical troubleshooting. You aren’t just pushing buttons on a screen anymore; you are managing the actual movement of matter through a machine.
I know it can feel frustrating when a piece of plastic and silicon refuses to behave, but I encourage you to look closer next time. Don’t just settle for a “system error” message when the machine fails you. Instead, try to visualize the tiny droplets of ink and the mechanical rollers as a synchronized dance. When you understand the physical reality of how these components interact, the machine stops being a black box of mystery and starts being a tool you actually control. Once you can see the friction, you can always find a way to smooth it out.
Frequently Asked Questions
If I’ve cleaned the nozzles and the streaks are still there, could the issue be a mechanical misalignment in the carriage itself?
It certainly could be. If the nozzles are clear but the lines are still dancing off-center, the carriage is likely losing its rhythm. I opened my old inkjet last week to see why; sometimes the tiny timing belt has stretched or a sensor is coated in enough dust to make the carriage “stutter” as it moves. It’s not just about the ink anymore; it’s about the physical geometry of the sweep.
Is there a way to tell if the ink is actually drying out inside the internal lines, or is it just a surface clog in the printhead?
To tell the difference, you have to look at the pattern of failure. If it’s just a surface clog, a standard cleaning cycle usually clears it because the pressure forces the fresh ink through the nozzle. But if the colors are consistently pale or “starving” even after a deep clean, that’s your sign. It means the ink in the lines has thickened into a sludge, and no amount of suction will fix it until you flush the tubes.
When I'm looking at the rollers, how can I distinguish between a simple dust buildup and a part that has actually worn down and lost its grip?
I learned this the hard way with a grandfather clock; you can’t fix what you can’t feel. Take a cotton swab dipped in isopropyl alcohol and run it along the roller. If the swab comes away dark but the rubber feels tacky and “grippy” afterward, it was just dust. But if the swab slides right over a surface that looks shiny, smooth, or even slightly pitted, that rubber has lost its friction. It’s worn down to the substrate. At that point, cleaning is just window dressing; the part is dead.