
I spent thirty-four years in a physics classroom, and if there is one thing I learned, it’s that people love to sell you a complicated solution for a problem that doesn’t actually exist. I see these ads for “professional-grade” document scanners—bulky, expensive machines that sit on your desk gathering dust—and I just have to laugh. Why on earth would you buy a dedicated piece of hardware when you are already carrying a high-resolution sensor in your pocket? Most people struggle with how to use a scanner app because the software companies make it feel like you’re trying to pilot a spacecraft, when really, it’s just a matter of understanding how the light hits the paper.
I’m not here to give you a manual filled with technical jargon that means nothing once you close the screen. Instead, I want to show you what is actually happening behind that glass lens. I’ll show you how to strip away the fluff and turn your phone into a precision tool for your paperwork. My goal is to make sure you understand the mechanism well enough that you can get it done right the first time, without needing a degree in computer science or a second mortgage.
Selecting the Best Scanner Apps for Iphone and Android
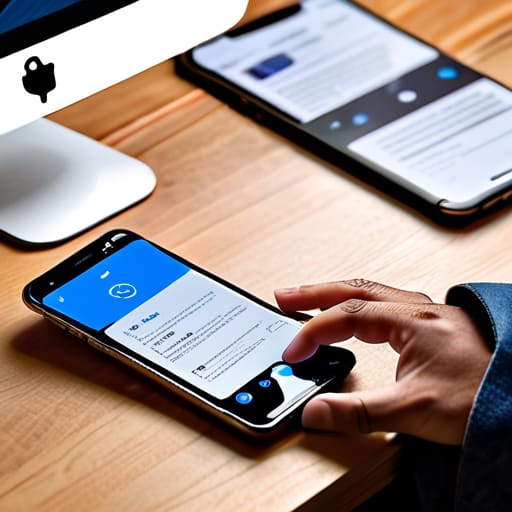
I spent last Tuesday with my screwdriver set and a particularly stubborn handheld scanner, trying to see if the sensor was actually “seeing” the paper or just guessing based on light reflection. It turns out, most of the magic happens in the software, not the glass. When you are looking for the best scanner apps for iPhone and Android, you shouldn’t just grab the first one that pops up in the App Store. You need to look for how the software handles the edge detection. A good app acts like a tiny, invisible technician; it finds the corners of your page, flattens the perspective, and cleans up the shadows so the digital file looks like it came from a heavy-duty office machine rather than a shaky hand.
I usually gravitate toward Adobe Scan or Microsoft Lens because they don’t just take a picture; they utilize optical character recognition technology to actually read the text. This is the difference between having a digital photo of a recipe and having a searchable document where you can find “cinnamon” in three seconds. If you want to master digital document management, look for apps that prioritize converting images to PDF automatically. If the app makes you jump through hoops just to save a file, it’s poorly engineered, and I don’t have the patience for bad mechanics.
Improving Scan Quality When No One Is Watching
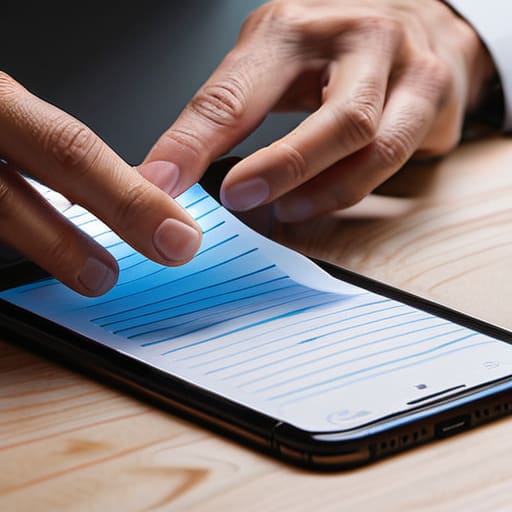
I once spent an entire afternoon trying to understand why a vintage pendulum clock kept losing three minutes every hour. It wasn’t the gears; it was the friction in the pivot points that I couldn’t see. Scanning is exactly the same. You think you’ve captured the document, but if the lighting is uneven or the paper is curling, the software struggles to interpret the data. To master improving scan quality, you have to treat your phone like a precision instrument. Find a flat surface with consistent, natural light—never rely on a single overhead bulb that casts a shadow from your own hand. If you can’t see the edges of the paper clearly in your viewfinder, the algorithm won’t either.
Once you have the physical setup right, the real magic happens in the background. Most of the best scanner apps for iPhone and Android use optical character recognition technology to turn those little light-captured pixels into actual, searchable text. If you want a clean result, keep the phone perfectly parallel to the page. If you tilt it, you’re introducing geometric distortion that makes the digital version a messy imitation of the original. Aim for a flat, bright, and steady shot, and the software will do the heavy lifting for you.
Five Ways to Stop Fighting Your Phone and Start Actually Scanning
- Find your light before you find your document. I’ve learned the hard way that if you’re working in a dim corner, the sensor has to work twice as hard, which just results in a grainy, digital mess. Aim for a bright, indirect light source so the lens can actually see the fibers of the paper without getting blinded by a direct glare.
- Flatten the world. If you’re trying to scan a page from a thick textbook, that curved spine is going to fight you every step of the way. Use your non-dominant hand to hold the edges down firmly—just enough to keep it flat, but not so much that you smudge the ink—to ensure the software recognizes a clean rectangle instead of a wavy mess.
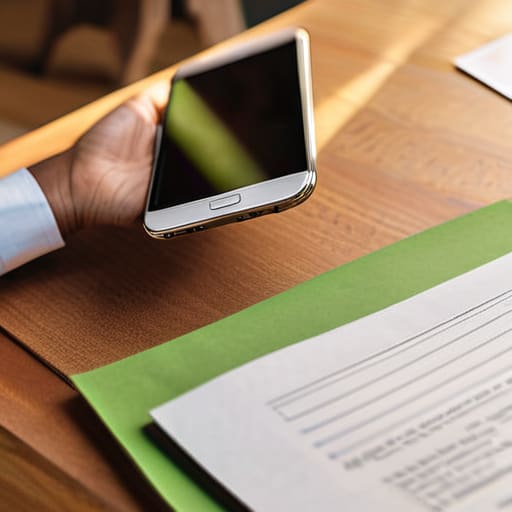
- Watch the edges, not the text. When you’re framing the shot, don’t obsess over the words; focus on the contrast between the paper and the table. If you’re scanning a white sheet on a dark wooden desk, the app’s “auto-crop” feature will snap to the corners like a magnet, saving you from that tedious manual dragging of corner pins.
- Check the “Black and White” filter setting. Most people leave everything in “Auto” or “Color,” but if you’re scanning a standard text document, switching the output to “B&W” or “Document” mode forces the software to strip away the gray shadows and background noise. It turns a messy photo into something that actually looks like it came out of a real laser printer.
- Name the file before you lose it. A digital scan is useless if it’s just “Scan_2024_05_12_1402.pdf” sitting in a folder of a thousand other files. The moment the app finishes processing, rename it with a logical pattern—date, subject, version—so you aren’t hunting through your digital junk drawer three months from now when you actually need that receipt.
My Three Rules for a Digital Filing Cabinet
Stop treating your camera like a snapshot tool; a scanner app is actually a light-sensor and edge-detection engine that needs flat surfaces and steady hands to work.
Don’t just save a picture; use the app to strip away the shadows and the grain so your document looks like it came from a laser printer, not a smartphone lens.
If you don’t name your files and send them to the cloud immediately, you haven’t actually scanned anything—you’ve just taken a very complicated, digital photograph.
Beyond the Lens
At the end of the day, using a scanner app is really just about moving information from a physical state to a digital one without the friction of a heavy, desktop machine. We’ve talked about picking the right software for your specific phone, ensuring your lighting is consistent so the sensors don’t struggle, and keeping your surfaces flat so the optical distortion doesn’t ruin your legibility. Once you get the hang of it, you aren’t just taking pictures; you are using a tiny, sophisticated computer to reconstruct a document into a searchable, manageable file that lives in your pocket rather than in a dusty cardboard box.
I spent decades teaching my students that you don’t truly master a tool until you understand its limitations and its logic. A scanner app is no different. It is a bridge between the tangible world of paper and the infinite, organized world of the cloud. Don’t let the technology intimidate you; once you see how the software identifies edges and flattens shadows, the mystery disappears. My advice? Stop hoarding paper and start curating your digital life. Once you stop fearing the “scan” button, you’ll realize you aren’t just managing files—you are finally mastering your own space.
Frequently Asked Questions
Will these apps actually make my documents look professional, or will they just look like blurry, tilted photos?
If you just snap a photo, you’re just taking a picture of a piece of paper. But these apps? They aren’t just cameras; they are little processors that look for the edges of your page. Once they find those corners, the software performs a digital “flattening.” It stretches the perspective and boosts the contrast so the background goes white and the ink stays sharp. It’s not a photo anymore; it’s a digital reconstruction.
What happens to my private paperwork once the app is finished—is it actually stored securely on my phone or sent to some cloud I can't see?
I had to pull my old tablet apart just to see where the data goes, but the truth is simpler and a bit more invisible. When you hit “save,” the app creates a digital file. Depending on your settings, that file stays tucked away in your phone’s local memory, or it hitches a ride up to a “cloud”—which is really just someone else’s massive, humming server farm. If you haven’t toggled the cloud sync off, your paperwork is traveling through the air.
Do I need a special kind of lighting to make this work, or can I just grab a document off my desk in the middle of the afternoon?
You don’t need a studio setup, but you do need to mind the shadows. If you grab a paper from your desk in the afternoon, just make sure you aren’t leaning over it like a dark cloud. I’ve learned from peering into the guts of small cameras that light is everything; if the sensor struggles to see the contrast, the software guesses, and guessing leads to blurry text. Just find a bright spot.