
I spent thirty-four years watching students stare at a physics problem as if the math were a magic trick, rather than a series of predictable, mechanical interactions. Most people treat their smartphones the same way—they see a sleek glass slab and assume the “magic” happens behind a curtain of software they aren’t allowed to touch. They think they need a bulky, $400 dedicated scanner sitting on a desk just to digitize a single receipt or a handwritten note. But honestly? That’s just unnecessary friction. I’ve spent my retirement taking apart old pendulum clocks to see how the gears actually bite, and I look at your phone the same way. Once you understand that the camera is just a light-gathering sensor and the software is just a set of digital filters, you realize that learning how to scan documents with a phone is less about “tech wizardry” and more about understanding a simple optical workflow.
I’m not here to give you a sales pitch for a new app or a lecture on cloud computing. I want to show you the mechanical reality of the process. We are going to strip away the jargon and look at how your device actually captures light, corrects perspective, and flattens an image into a clean, readable file. By the time I’m done, you’ll know exactly what your phone is doing when you tap that shutter button, and you’ll be able to do it without any guesswork.
Mastering High Resolution Document Capture in Total Isolation
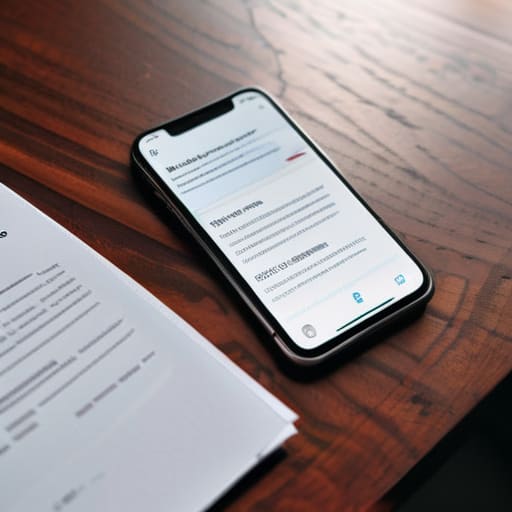
When I finally pried open my old Nikon to see how the sensor married itself to the lens, I learned that light is a fickle thing; it requires a controlled environment to be useful. The same applies to your phone. To achieve true high resolution document capture, you have to stop thinking like a photographer and start thinking like a technician. If you are just snapping a quick picture in a dim room, you aren’t scanning; you’re just making a blurry memory. I always set my papers on a flat, matte surface—never glossy—to prevent that dreaded glare from bouncing off the page and blinding the sensor.
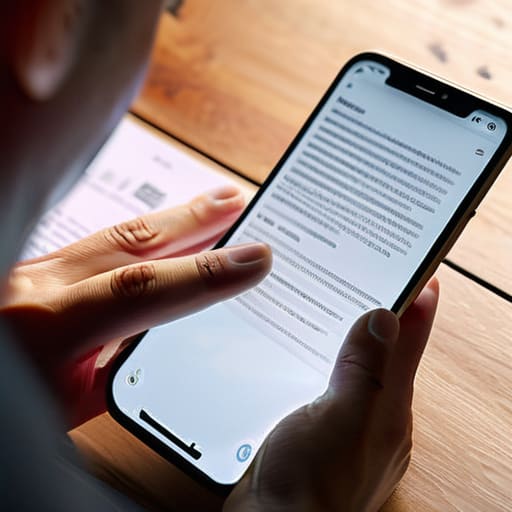
Once you have the lighting sorted, the real magic happens in the software. I’ve spent quite a bit of time testing the best mobile scanner apps to see how they handle the heavy lifting. You want something that doesn’t just take a picture, but uses optical character recognition technology to actually “read” the ink. This is what allows you to search for a specific word in a pile of digital files months later. It’s the difference between a digital shoebox and a proper, organized filing cabinet.
Choosing the Best Mobile Scanner Apps for Unseen Efficiency
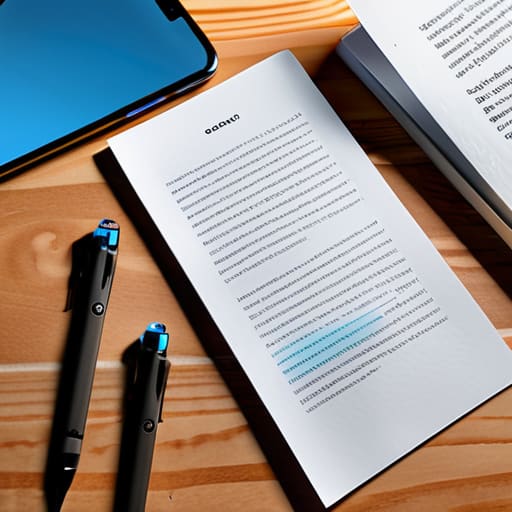
Once I had the lighting right and the paper steady, I realized the software is really just the invisible gear train that turns a raw image into something useful. You don’t need a bulky peripheral if you pick the right tool; you just need something that knows how to distinguish a stray shadow from a printed line. When I’m looking for the best mobile scanner apps, I’m not looking for flashy interfaces or social sharing buttons. I’m looking for how the algorithm handles the edges. A good app doesn’t just take a picture; it uses optical character recognition technology to recognize that the black smudge on the page is actually the letter ‘A’ and not just a bit of ink bleed.
If you want to truly streamline your digital document management, you need an app that can convert photo to PDF without losing the crispness of the original text. I’ve spent many afternoons testing how different programs handle a stack of messy, curled receipts. The ones worth your storage space are the ones that can flatten a wrinkled page digitally, making it look as though it were fed through a professional roller scanner while you weren’t even looking.
Small Adjustments for a Cleaner Result
- Check your lighting before you start; if the shadows from your own hands are falling across the page, the sensor will struggle to distinguish the ink from the paper, so move toward a window or turn on a desk lamp.
- Flatten the paper completely, because even a slight curl in the corner creates a distortion in the lens that no amount of software sharpening can truly fix.
- Keep your elbow tucked against your side to act as a human tripod; even the slightest tremor in your hand will turn a crisp line of text into a blurry, unreadable mess.
- Place a dark, matte surface behind the document if you aren’t using a scanner app, as this helps the camera’s autofocus find the edges of the white paper much faster.
- Clean your lens with a microfiber cloth first, because a single smudge of oil from your thumb will make every scan look like it was taken through a fog.
The Mechanics of a Clean Capture
Forget the fancy software for a second; the real work happens in the physics of light and steady hands. If your lens is smudged with a fingerprint, you aren’t scanning a document, you’re photographing a blur.
A good scan is about more than just a picture; it’s about how the app identifies the edges of the paper and flattens the perspective. You want the digital file to behave like a flat sheet of paper, not a photo of a page sitting on a tilted desk.
The most efficient workflow is the one that happens in the background. Once you’ve set your lighting and your app, the goal is to turn a physical stack of papers into a silent, organized digital archive without ever having to sit down at a bulky desktop scanner.
The Mechanics of a Paperless Life
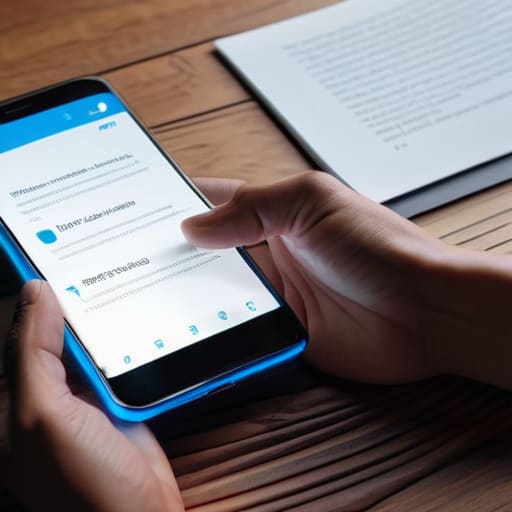
At the end of the day, turning your smartphone into a scanner isn’t about magic; it’s about understanding how light hits a sensor and how software interprets those pixels into a clean, readable file. We’ve looked at how to control your environment to ensure high resolution, how to select an app that doesn’t add unnecessary digital bloat, and how to maintain a workflow that remains completely invisible to anyone else in the room. Once you have mastered the physics of the shot—the steady hand, the even lighting, and the right software calibration—you aren’t just taking a photo anymore. You are effectively digitizing a physical object through a series of precise, automated steps.
I spent years teaching my students that if you understand the components, you can master the machine. The same applies to this little slab of glass and silicon in your pocket. Once you stop seeing it as a mysterious black box and start seeing it as a tool for reproducible results, the world becomes much more manageable. Don’t let the technology intimidate you; instead, take it apart mentally, learn its habits, and use it to clear the clutter from your desk. After all, the best tools are the ones that work quietly in the background, leaving you free to focus on the actual work at hand.
Frequently Asked Questions
How do I keep the digital file from looking like a blurry mess if the lighting in my room is dim?
I had to dismantle my old desk lamp just to see if the voltage regulator was causing the flicker, but the real culprit here is your sensor’s shutter speed. In dim light, the camera keeps the shutter open longer to gather photons, and if your hand twitches even a millimeter, you get a smear. Don’t rely on software; find a steady surface, prop the phone up, and use a secondary light source to keep that shutter snap fast.
Is there a way to turn these scans into a single PDF without having to manually name every individual page?
You don’t need to play file clerk for every single page. Once you’ve finished your burst of scanning, look for the “Combine” or “Save as PDF” option in the app’s menu. Most of these tools are designed to bundle everything into one digital container automatically. It’s much like how a single gear train drives a whole clock face; the app handles the internal mechanics of merging the files so you only have to manage one single output.
Once the scan is finished, how do I make sure the file is small enough to email without losing all the fine print?
I had to strip down my old inkjet printer to understand why files bloat so quickly. It’s all about the metadata and the resolution overhead. When you’re saving, look for the “PDF” option rather than a high-res image file; it treats text as vectors rather than heavy dots. If the file is still too chunky for an email, run it through a compressor. It’s like thinning out a gear lubricant—you want just enough to move, without the excess weight.