

Last Tuesday, I was hunched over my workbench, the scent of aged machine oil and dust hanging heavy in the air, staring at a 1950s mantle clock that had simply decided to stop breathing. Most people, when faced with a silent machine, reach for a manual or, more likely, a credit card to pay a technician who will charge them for a “diagnostic fee” just to tell them a spring is snapped. They treat technology like a magic trick—something that either works or doesn’t—but that’s a lie. If you want to truly understand how to troubleshoot a device methodically, you have to stop treating the interface like a god and start looking at the physicality of the failure.
I’m not here to give you a list of “reboot your router” platitudes that you could find on any generic tech support forum. My promise to you is much more tactile: I am going to teach you how to look past the blinking lights and the frozen screens to find the actual break in the chain. We are going to strip away the mystery until we find the mechanical or electrical truth of the problem. By the time we’re done, you won’t just be fixing things; you’ll finally understand what your gadgets are actually doing when you aren’t watching them.
Mastering Systematic Problem Solving Steps in the Dark
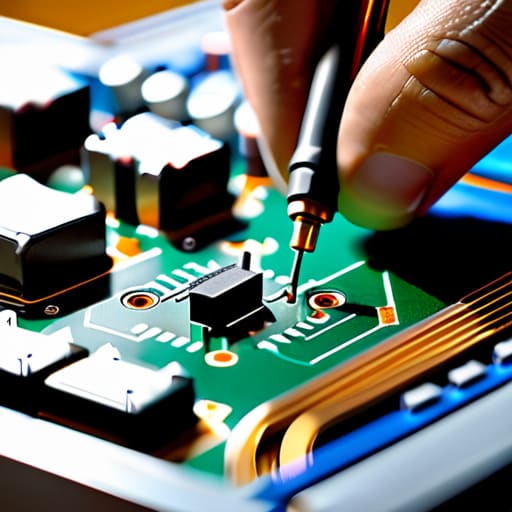
When I was teaching my juniors, I always told them that a broken circuit isn’t a mystery; it’s just a sequence of events that stopped happening. To truly understand a failure, you have to move past the blinking lights and the error messages. You need to engage in a proper diagnostic process for electronic devices by looking at what happens when the power is cut or the signal is interrupted. If you aren’t looking at the physical state of the components, you’re just playing a guessing game with a user manual.
The secret lies in eliminating variables in hardware testing one piece at a time. I like to think of it like my grandfather’s old pendulum clocks: if the rhythm is off, you don’t just replace the whole mechanism; you check the escapement, then the weights, then the gear train. You isolate the part that isn’t performing its duty when the system is idle. By stripping away the “known goods,” you eventually corner the culprit. It’s about finding that one specific point where the energy stops flowing or the logic stops making sense.
Eliminating Variables in Hardware Testing Without Eyesight
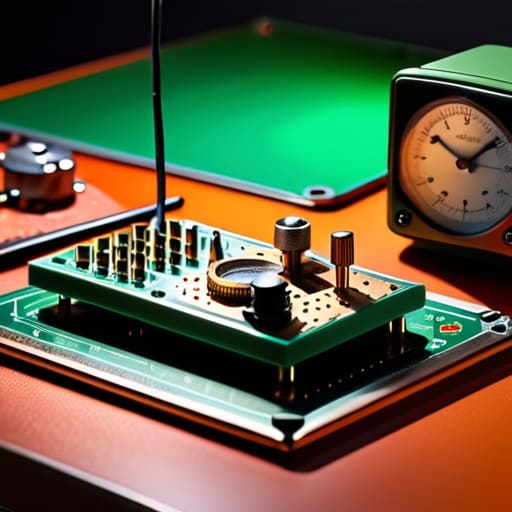
When I’m sitting at my workbench with a clock that has gone silent, I don’t start by poking at the gears blindly. I start by isolating them. In electronics, we call this eliminating variables in hardware testing, but to me, it’s just common sense. If a circuit isn’t behaving, you cannot simply swap parts and hope for the best; that’s just expensive guesswork. You have to strip the system down to its barest essentials—the power source, the primary conductor, and the load—and test them one by one. If the power supply is steady but the component remains cold, you’ve successfully narrowed the field.
The trick to a successful diagnostic process for electronic devices is realizing that every extra wire or peripheral is just a potential liar. I’ve spent many afternoons removing everything from a board except the absolute minimum required for it to “breathe.” By stripping away the non-essentials, you stop the noise from masking the signal. You aren’t just looking for what is broken; you are systematically proving what is still working. Only when the foundation is verified can you begin the real work of identifying faulty components without the distraction of secondary failures.
My Five Rules for Finding the Ghost in the Machine
- Isolate the power source first. I’ve spent too many afternoons staring at a dead clock only to realize the tension in the mainspring wasn’t the issue, but rather a tiny bit of oxidation on the contact point. Before you assume the “brain” of the device is broken, verify that the energy is actually reaching the components.
- Listen for the mechanical truth. When an interface goes dark, your ears become your primary diagnostic tool. A capacitor whining, a fan struggling against dust, or a relay clicking rhythmically tells a much more honest story than a frozen LED ever will.
- Test one variable at a time, or you’re just gambling. If you swap the battery, the cable, and the fuse all at once and the device suddenly works, you haven’t solved anything—you’ve just hidden the culprit. You have to be able to point to the exact moment the behavior changes.
- Look for the physical evidence of stress. When I open a casing, I’m not looking for software errors; I’m looking for the tell-tale signs of heat discoloration on a circuit board or a bulging electrolytic capacitor. Physics leaves a paper trail, even if the screen says everything is fine.
- Reconstruct the failure state in your mind. You haven’t truly diagnosed a problem until you can describe exactly what the electrons were trying to do right before the system tripped. If you can’t visualize the path of the current when the device is “off,” you’re just poking at shadows.
What to Remember When the Lights Go Out
Stop guessing based on what the screen tells you; start tracing the physical path of energy and logic through the components you can actually touch.
If you haven’t isolated a single variable by stripping the system down to its barest essentials, you aren’t troubleshooting—you’re just hoping.
Real understanding comes from knowing what the device is doing in its idle state, because a machine that only works when you’re watching it is a machine you don’t truly own.
The View from the Workbench
At the end of the day, methodical troubleshooting isn’t about having a magic intuition; it’s about the discipline of isolation. We’ve talked about stripping away the noise, controlling your variables, and learning to listen to the mechanical or electrical heartbeat of a device when the screen is black and the lights are low. If you can’t pinpoint exactly which component failed to perform its duty in the dark, you haven’t finished the job. You have to move from “it’s broken” to “the continuity is lost at this specific junction.” Only when you stop guessing and start isolating the failure points can you truly claim to have mastered the machine.
I know it feels daunting when a device refuses to cooperate, but I want you to remember that every malfunction is just a physical law waiting to be observed. There is no such thing as a “glitch”—there are only processes that have deviated from their intended path. When you sit down at your bench, don’t see a frustrating obstacle; see a puzzle that is begging to be solved. Once you learn to look past the polished plastic casing and understand the silent dance of electrons and gears underneath, you won’t just be fixing gadgets anymore. You’ll be understanding the world, one screw at a time.
Frequently Asked Questions
How do I know if a component has actually failed or if it's just a temporary glitch in the power delivery?
You can’t trust a flicker. To tell the difference, you have to look at the energy flow, not the screen. If it’s a glitch, the component is still physically intact but the voltage is dipping—like a heartbeat skipping. But if a component has actually failed, the circuit is broken or the resistance has shifted permanently. I check for heat or the smell of ozone; if the path is dead, no amount of rebooting will fix it.
If I've stripped a device down to its base components, how do I ensure I haven't introduced a new variable by mistake?
It’s the classic tinkerer’s trap: you fix the leak but end up with a loose screw you can’t account for. To avoid this, I keep a “state log”—not a fancy notebook, just a scrap of paper where I note every single connection I break. Before I reassemble, I perform a dry run of the circuit logic. If I can’t trace the path of electricity from point A to B without a “ghost” component, I haven’t finished.
Is there a way to test a circuit's logic when the physical connections look perfect but the device refuses to wake up?
When the connections look pristine but the device stays dead, you’re likely dealing with a “ghost” in the logic—a signal that’s being sent but never received. I always reach for my multimeter to check for continuity, but for logic, you need to see the pulse. If you can’t probe the traces, you have to look at the power rails. If the voltage is there but the logic gate isn’t switching, the brain is effectively asleep.