
I was sitting at my workbench last Tuesday, squinting through my jeweler’s loupe at the tiny, frantic circuit board of my new doorbell, when I realized something infuriating. Most people think learning how to set up a video doorbell is about following a colorful app tutorial on a smartphone, but that’s just a digital veneer. The truth is, if you don’t understand where the power is actually flowing or how that little lens is negotiating with your Wi-Fi signal, you aren’t “setting it up”—you’re just hoping it works. I couldn’t stand the mystery of it, so I did what I always do: I unscrewed the casing to see the actual guts of the machine.
Once I saw the solenoid and the sensor array, the “magic” vanished, replaced by simple, predictable physics. In this guide, I’m going to skip the marketing fluff and show you the mechanical reality of the process. I’ll walk you through the physical mounting, the wiring logic, and the connectivity hurdles so you can ensure your device is actually watching the porch when you aren’t home. We aren’t just installing a gadget; we are securing a perimeter.
Guide Overview
Tools & Supplies
- Screwdriver (for mounting bracket and housing)
- Power Drill (if mounting on masonry or brick)
- Smartphone (for app configuration and testing)
- Wi-Fi Router (for signal verification)
- Video Doorbell Unit (1 unit)
- Mounting Hardware (1 set included in box)
- Rechargeable Battery or Transformer (1 unit)
Step-by-Step Instructions
- 1. Before you even touch the mounting bracket, I had to sit on my kitchen floor and spread out every single screw and washer from the box. It’s a tiny ecosystem of hardware. First, you need to check your Wi-Fi signal right at the front door using your phone. If your signal is weak out there, the doorbell will just be an expensive, silent plastic puck, and no amount of clever software can fix a lack of radio waves.
- 2. Now, unless you bought a battery-powered model, you’re likely dealing with existing doorbell wires. I pulled my old doorbell off the wall to see the guts of the thing, and you should do the same. Identify the two wires coming out of your wall; they don’t have polarity, so it doesn’t matter which one goes to which terminal, but you must ensure they are stripped clean of any old insulation so the copper can actually make contact.
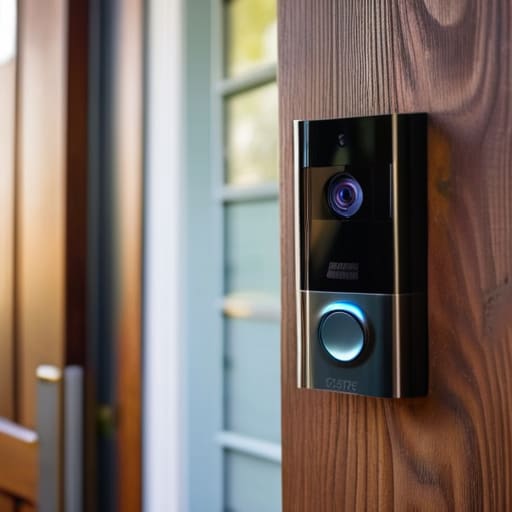
- 3. Once the wires are ready, it’s time to mount the bracket. Don’t just eyeball it. Use a level if you have one, because a crooked doorbell makes the entire house look slanted. Drill your pilot holes into the doorframe or masonry, and if you’re mounting into brick, make sure you’ve used the correct masonry anchors. If that bracket isn’t firmly seated, the first heavy gust of wind or a curious toddler will send your new tech tumbling.
- 4. This is the part where most people rush, but I prefer to take my time. Slide the doorbell unit onto the bracket and secure it with the provided screws. I like to give it a gentle tug to make sure it’s locked in place. If you’re using the chime connector (that little white box that comes in the kit), you’ll need to wire it into your internal chime box—think of it as giving the doorbell a direct line to the house’s “voice.
- 5. Now for the digital handshake. Open the app on your phone and follow the prompts to pair the device. This is where the doorbell transitions from a piece of hardware to a functional tool. You’ll likely have to scan a QR code on the back of the unit. If the app struggles to find it, it’s usually because of frequency interference; make sure you aren’t standing right next to a massive microwave or a thick concrete wall while trying to sync them.
- 6. Once the app says “Success,” we need to test the mechanics. Walk to the edge of your property and ring the bell. I don’t just want to see if the light flashes; I want to see the latency of the video stream. If there is a five-second delay between the ring and your phone buzzing, you need to go back to Step 1 and rethink your Wi-Fi extender situation.
- 7. Finally, set your motion zones. This is the most important bit of “programming” you’ll do. You don’t want your phone exploding with notifications every time a car drives past or a leaf blows across the lawn. Use the app to draw digital boundaries around your porch and walkway so the sensor only triggers when something—or someone—is actually standing on your doorstep.
Hardwired Power or Battery Choosing Your Silent Guardian
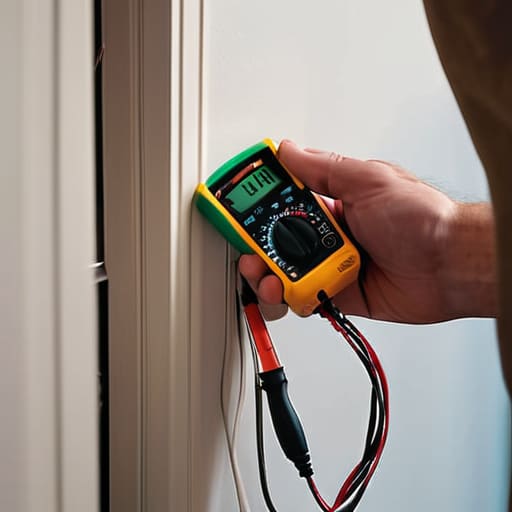
Now, before you start drilling holes, we need to decide how this little sentry is going to eat. I spent yesterday afternoon with my multimeter checking the old chime wires in my hallway, and it’s a common trap: most people assume any wire behind their old doorbell is ready for duty. In reality, you need to check your doorbell transformer voltage first. If your transformer is an ancient, low-output relic, it won’t have the juice to keep a camera running and a chime ringing simultaneously. If you go the hardwired route, you’re looking at a permanent connection that won’t die on you mid-delivery, but you’ll be playing with electricity.
If the thought of chasing wires through your drywall makes your teeth ache, the battery option is your best friend. It’s much simpler, but there is a trade-off in physics. A battery-powered unit has to “sleep” to save energy, meaning it might miss the first half-second of a visitor’s approach. When weighing video doorbell battery vs hardwired, think about your lifestyle. If you hate climbing ladders every three months to swap out cells, find a way to tap into those existing wires.
Securing the Connection Mounting Brackets and Signal Strength
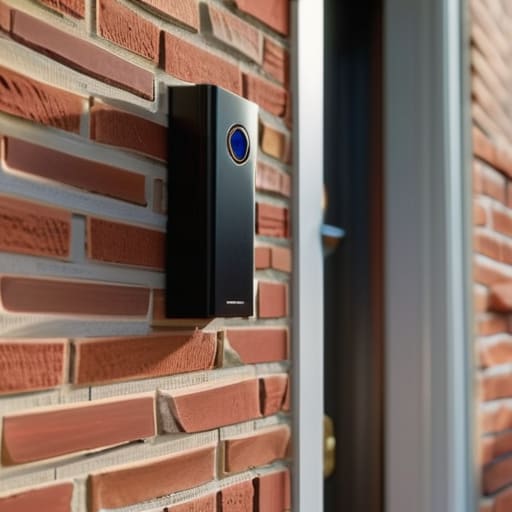
Once I had the power sorted, I sat on my porch with my drill and a level, staring at the mounting bracket. It sounds trivial, but if your mounting video doorbell bracket is even slightly askew, the camera’s field of view will be tilted toward your neighbor’s flowerbeds instead of your front walkway. I like to think of the bracket as the skeleton; if the bones aren’t straight, the whole body acts strangely. Make sure you’re drilling into something solid—brick or wood—rather than just the decorative trim, or a heavy gust of wind might turn your expensive gadget into a projectile.
The real headache, however, isn’t the screws; it’s the invisible air between your router and the door. I spent twenty minutes testing the signal with my phone before I even picked up the screwdriver. If you find the video stuttering, you aren’t looking at a broken device; you’re looking at a physics problem. Improving doorbell wifi signal strength often comes down to simple geometry. If your router is tucked behind a heavy oak cabinet or a thick wall, the signal struggles to push through. Sometimes, a simple Wi-Fi extender is the only way to ensure that when someone presses that button, the data actually makes it to your phone.
Avoiding the "Ghost in the Machine": Five Ways to Keep Your Doorbell from Acting Up
- Check your Wi-Fi signal from the porch before you drill a single hole. I once spent an afternoon mounting a unit only to realize the signal couldn’t even penetrate the heavy oak of my front door; if the data can’t get through the wood, the camera is just an expensive paperweight.
- Aim for the “sweet spot” height. You want the lens low enough to see the laces on a pair of shoes—which is how you catch a porch pirate—but high enough that a curious toddler can’t just reach up and swat it off the wall.
- Angle your view away from the street. If your doorbell is constantly triggered by every car driving past, you’ll be getting notifications all night long, and frankly, I don’t need my phone buzzing every time a neighbor goes for a midnight snack.
- Tighten those mounting screws until they actually bite. I’ve seen too many people just “finger-tighten” the bracket, only to have a heavy gust of wind or a particularly aggressive delivery driver knock the whole thing dangling by its wires.
- Clean the lens with a microfiber cloth, not your shirt. I know it’s tempting to just wipe it with your sleeve, but those tiny fabric fibers can leave a smudge that makes every video look like it was filmed through a bowl of oatmeal.
The Physics of a Proper Setup
Don’t let the fancy box fool you; if your Wi-Fi signal can’t penetrate your front door’s insulation, that expensive camera is just a very expensive paperweight.
Whether you’re tapping into existing wires or relying on a battery, remember that power is a finite resource—plan your placement so you aren’t climbing a ladder every three weeks to swap cells.
A doorbell’s true job happens in the dark, so ensure your mounting angle captures the ground where packages actually land, rather than just filming the tops of people’s heads.
The Final Click
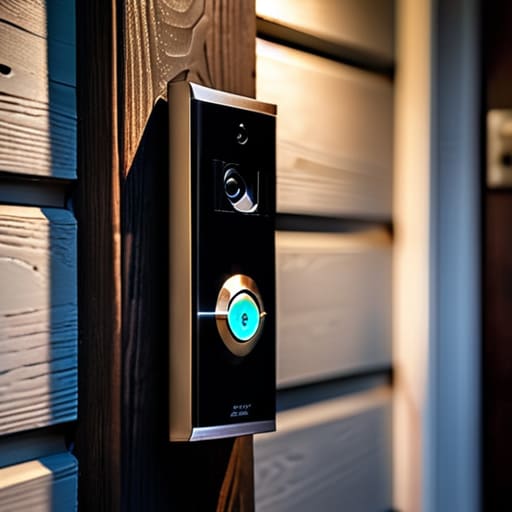
Once you’ve tightened that last mounting screw and confirmed the signal is actually punching through your front door, you’ve done more than just install a gadget; you’ve built a small, digital sentry. We’ve navigated the messy reality of choosing between the steady hum of a hardwired connection and the convenience of a battery, and we’ve ensured the bracket is seated firmly enough to survive a heavy gust of wind or a curious toddler. It isn’t just about the app notifications on your phone; it’s about knowing that the mechanical interface between your home and the street is finally, reliably, functional.
I often find myself staring at my clocks late at night, watching the gears mesh in perfect, silent rhythm, and I think that’s what we’ve achieved here. A video doorbell shouldn’t feel like a piece of magic or a black box that works by whim; it should feel like a well-oiled machine that performs its duty even when you aren’t watching the screen. Now that you’ve seen the guts of the process, you can rest easy knowing that your peace of mind isn’t based on luck, but on a solidly installed piece of engineering. Go ahead, grab a tea, and let the little machine do its job.
Frequently Asked Questions
If I choose the battery option, how often will I actually have to climb the ladder to swap it out once the seasons change?
I’ve opened up a few of these lithium-ion packs, and the reality is a bit of a moving target. In the summer, you might forget it even exists for months. But once the temperature drops? That’s when the chemistry gets sluggish. If you’re living through a harsh winter, expect to be reaching for that ladder every two to three months. It’s a bit of a chore, but that’s the trade-off for skipping the wiring.
Will the doorbell still record if my Wi-Fi hiccups for a minute while I'm in the backyard?
That depends entirely on whether your doorbell has a local memory slot. When I opened up my old digital camera to see why it was acting up, I realized the difference between “cloud-only” and “local storage.” If yours relies solely on the cloud, a Wi-Fi hiccup means that moment in the backyard is lost to the ether. But, if you’ve tucked a microSD card into the slot inside the casing, it’ll keep recording to the chip and catch up later.
Can I actually see the person's face clearly at night, or am I just going to be staring at a blurry shadow on my phone?
I had to unscrew the casing on my neighbor’s Ring to see why his footage looked like a charcoal sketch. The secret is the infrared LEDs. When the light drops, those tiny bulbs emit a glow invisible to us, but the sensor drinks it in. If your doorbell has a decent aperture and decent IR range, you’ll see a face. If it’s cheap plastic, you’re just staring at a ghost.